Clipping Mask in Procreate: How and When to Use Masks in Your Work
Clipping masks in Procreate can transform your workflow! I'll show you exactly how they work and when to use them to improve your digital art.
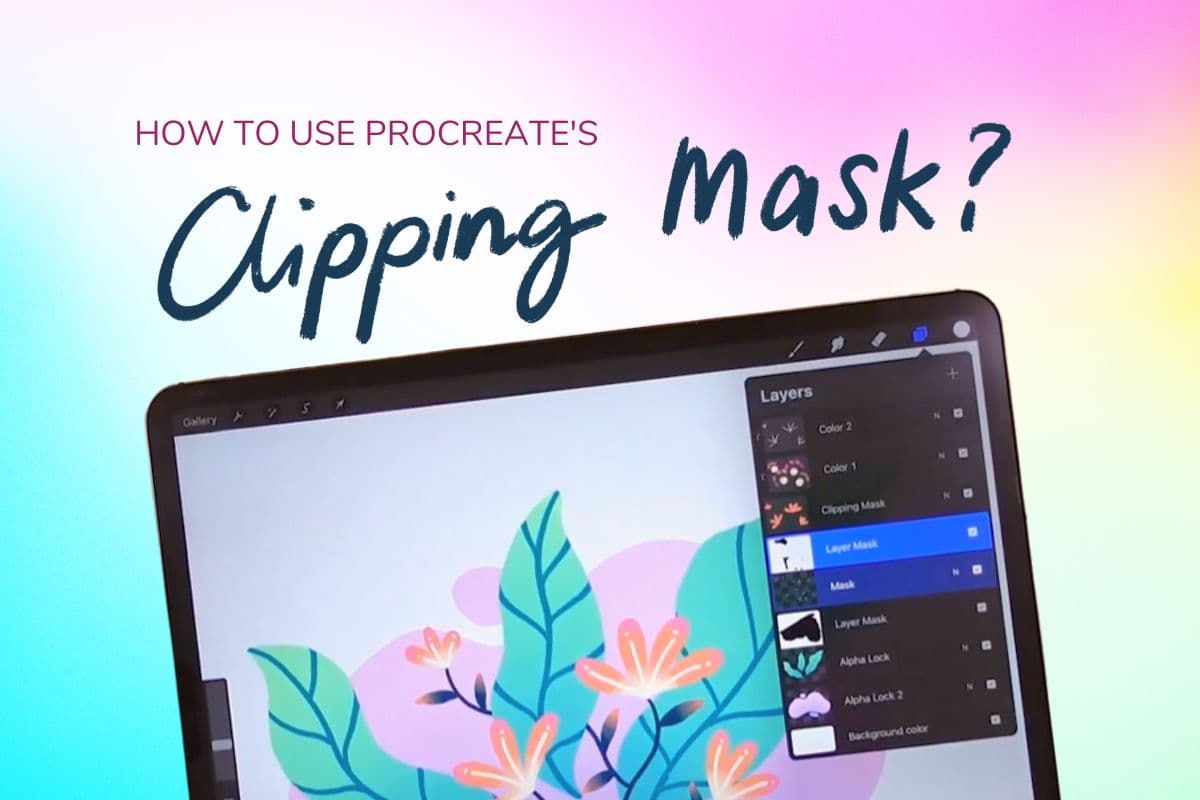
If you’re looking for one thing that would help you go from newbie to expert in digital arts, I have one word for you: masks.
Learning what masks are and how to use them will help you in more ways than you can imagine. It will open you to new techniques you can use in creating your masterpieces.
What are Masks
Masks are digital art tools that help you modify certain parts of your work without affecting the others. It will help you work faster, with more flexibility and freedom. It’s a very handy feature, especially when you get the hang of it!
In this 3-part blog series, we’ll talk about the 3 types of masks available to us in Procreate and how to use them.
You can check out the video above to see the difference between the different masks. Freya walks us through the different purposes of the masks in Procreate with a cute simple illustration. It's a snippet from her Procreate Masterclass.
But for this post, we’ll be talking about the Clipping Mask.
Clipping Mask
You can use a clipping mask to easily add details to your work without compromising your main drawing.
It’s easier to work when you know how to use masks because you can add details to your work without changing your base layer. You can easily remove the mask and return the artwork to its original version.
The clipping mask allows you to modify a layer based on another layer.
Check out the video above to see the difference between the different masks. Freya walks us through the different purposes of the masks in Procreate with a cute simple illustration
You can do more than one clipping mask on a layer which means… You can keep adding layers while still having the main shape the same, so all the drawings on the layers with clipping mask on is contained on the main shape
How to Use Clipping Mask Procreate
To show you how a clipping mask works, let’s try creating this circle.
First, create a circle and fill it with color. I used the round brush to create the circle.
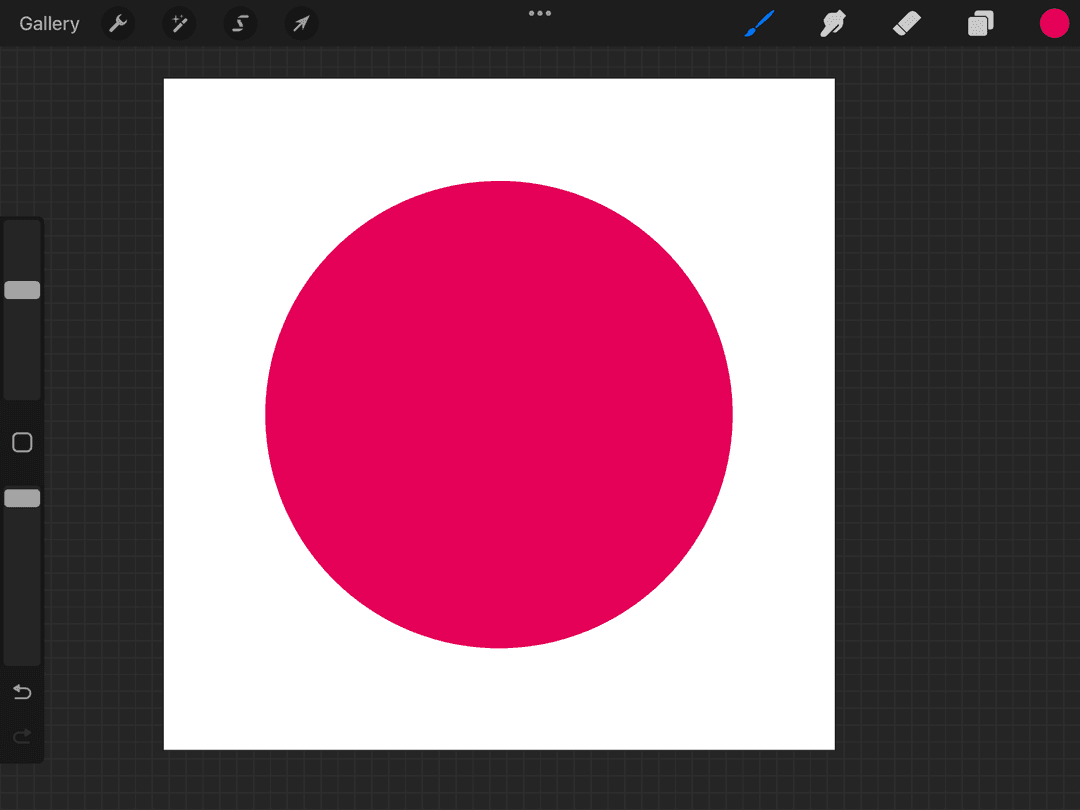
Turn on Procreate’s Clipping Mask
Next, let’s add shadows to this circle.
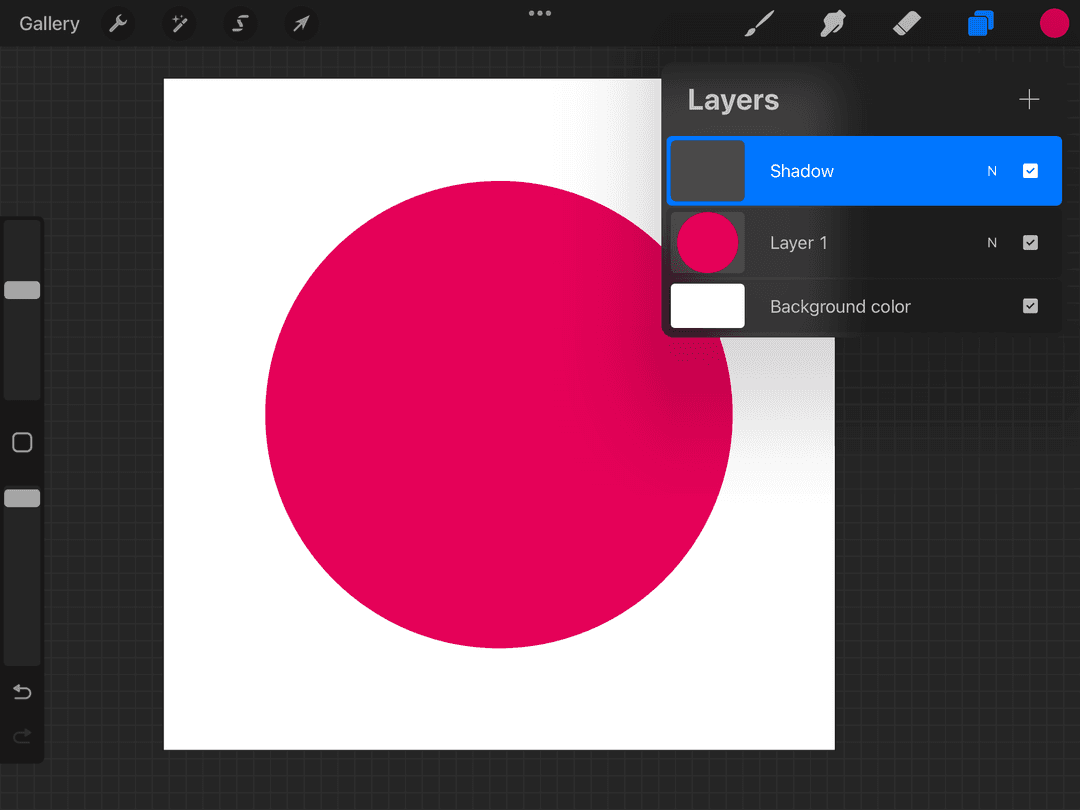
Create a new layer and rename it as ‘Shadow’. Turn on that layer’s clipping mask by tapping on the layer and choosing ‘Clipping mask’
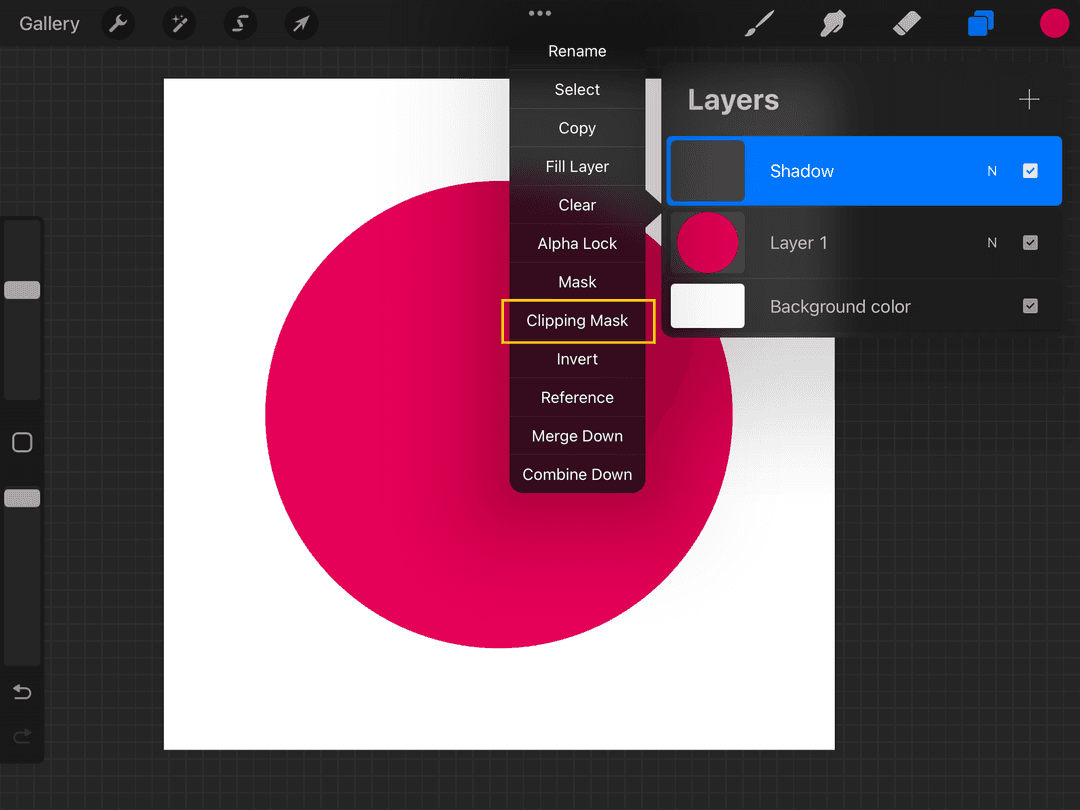
When clipping mask is on, you should see an arrow pointing to your base layer beside your clipped layer. In this case, there is an arrow beside ‘Shadow’ pointing to Layer 1 which is our base layer.
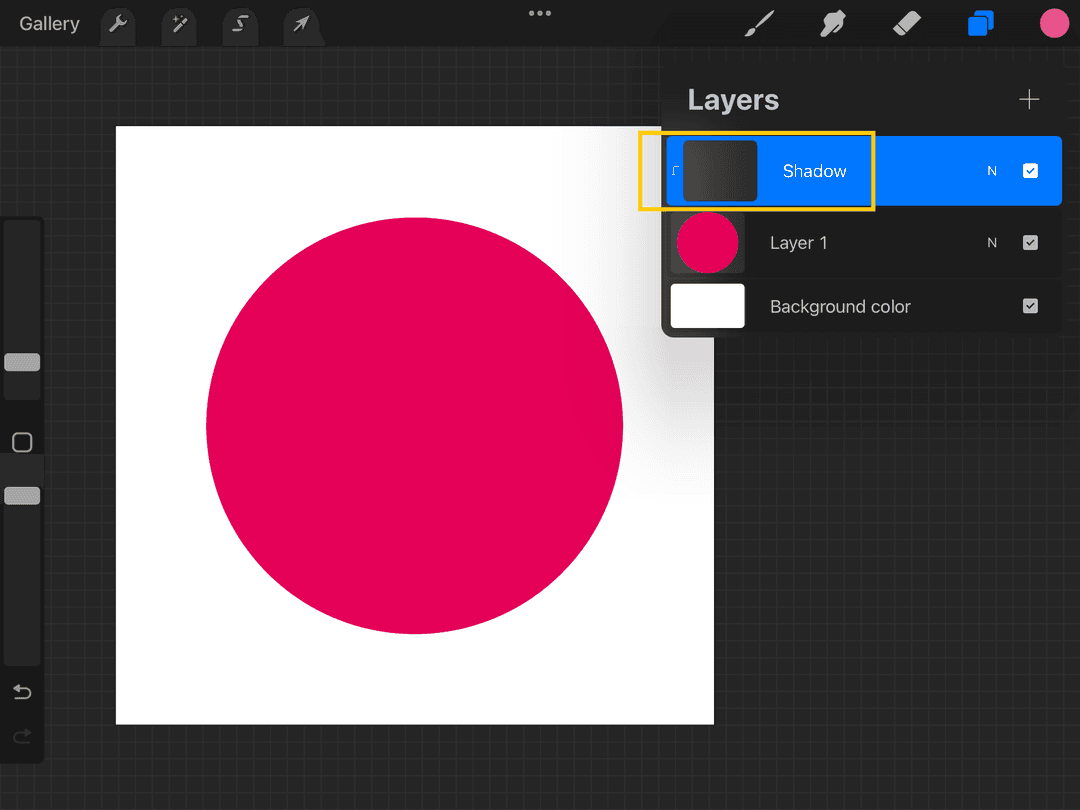
Now decrease your color’s brightness to get a darker shade for the shadow. We can also decrease the color saturation.
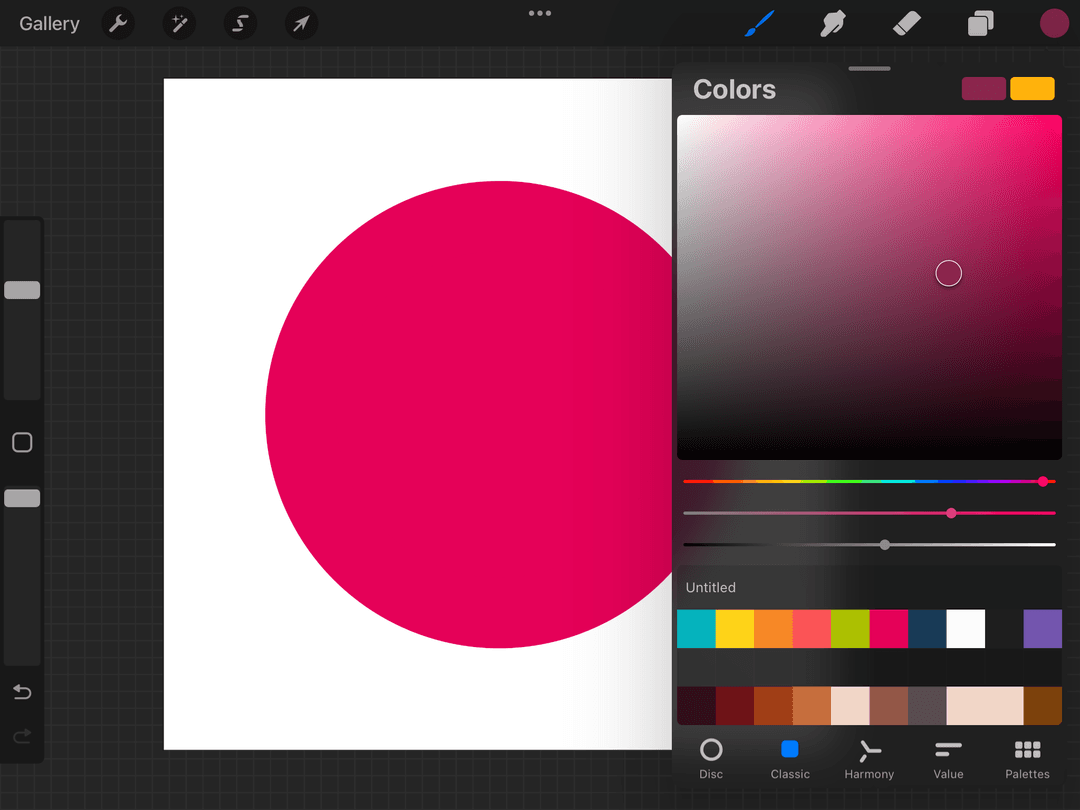
Then, let’s choose a more textured brush for the shadow. I’ll be using Procreate’s 2B compressed brush, it’s under the ‘Charcoals’
I’ll start drawing some shadows on the lower left part of the circle.
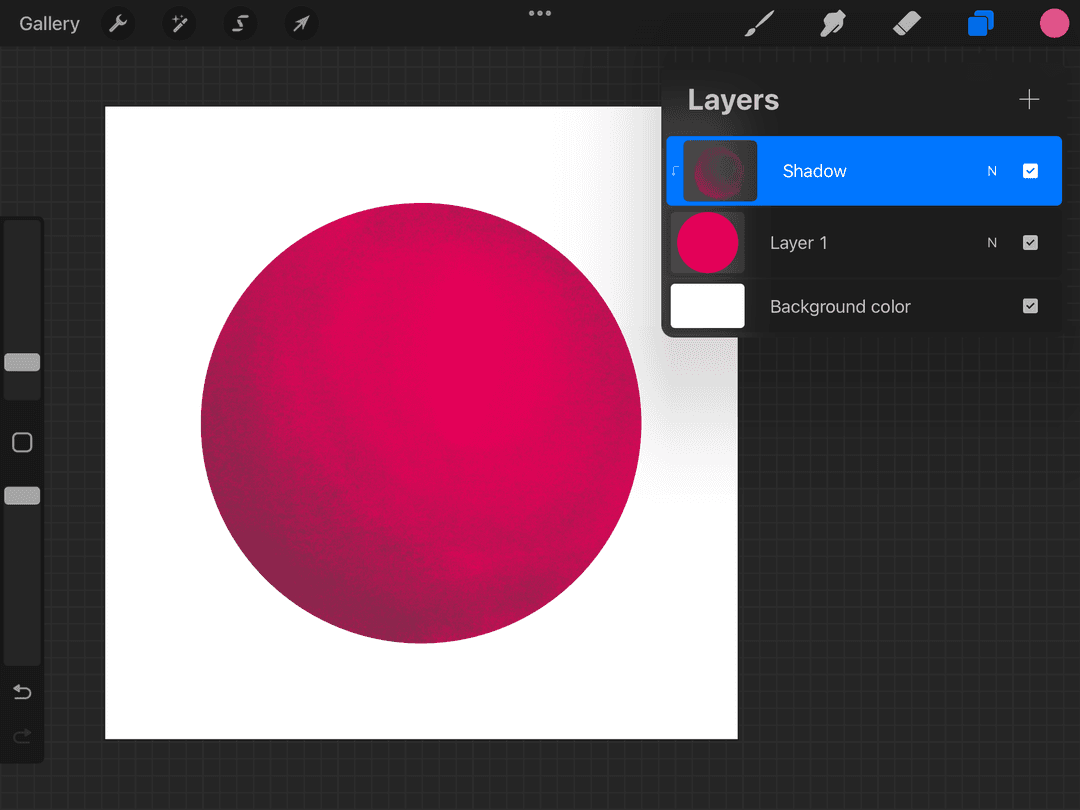
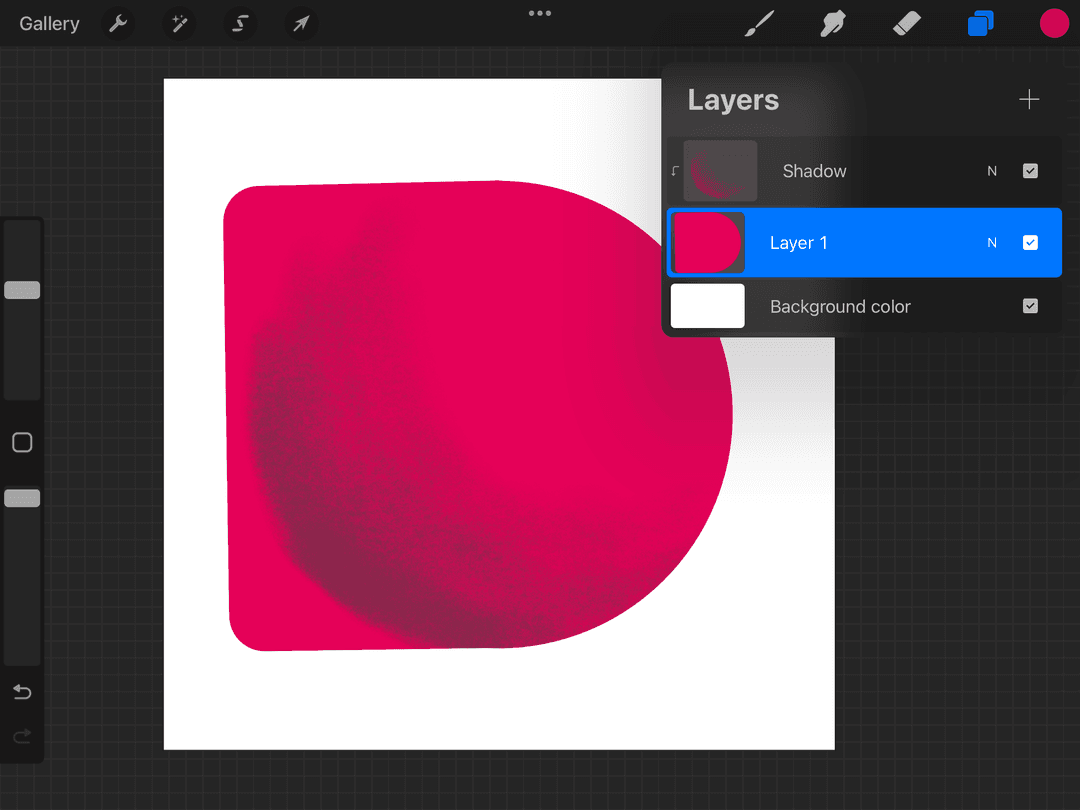
Notice that even though you’re coloring outside the circle, it doesn’t show? This is because when a layer is clipped to another layer, the clipped layer’s visibility depends on what’s in the base layer.
If I try adding some more parts on the base layer, you’ll see that more of the Shadow layer will be shown.
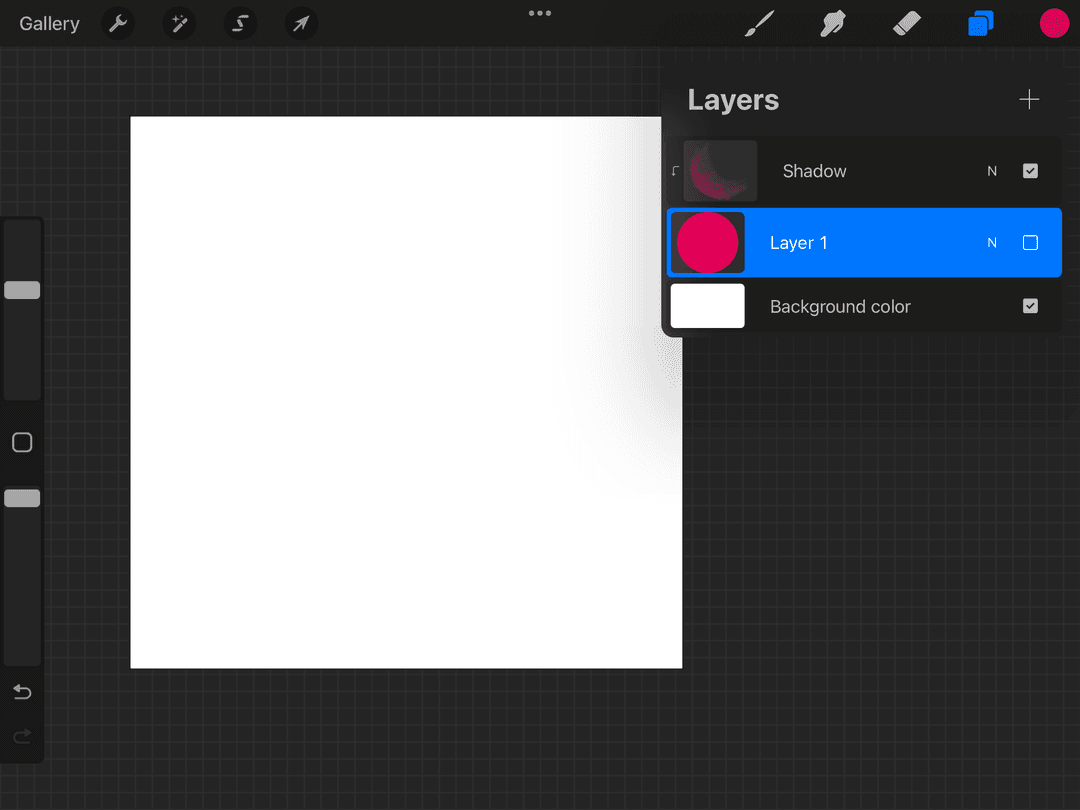
And if I turn off the base layer’s visibility, the Shadow layer will be invisible as well.
Add More Layers with Clipping Mask
We can actually add more than one clipped layer to our base layer. After we’re done adding some shadows, let’s add highlights to our circle.
Create a new layer on top of ‘Shadow’ and name it ‘Highlight’. Turn on the clipping mask for this layer as well.
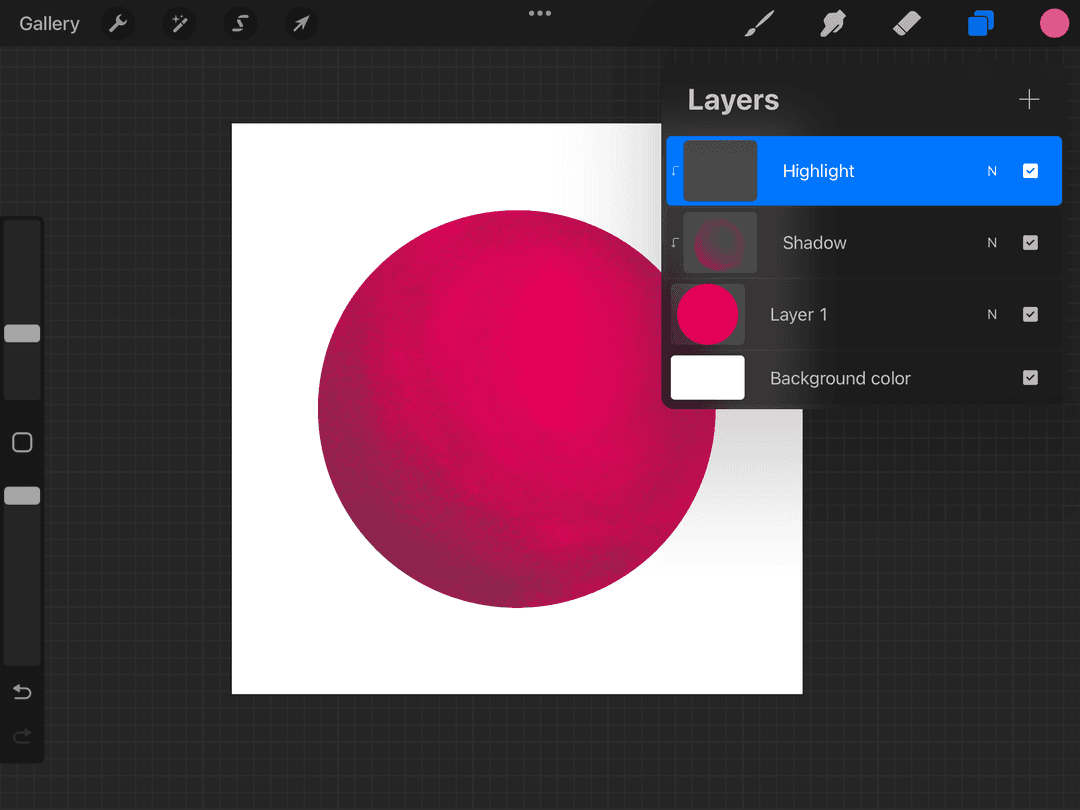
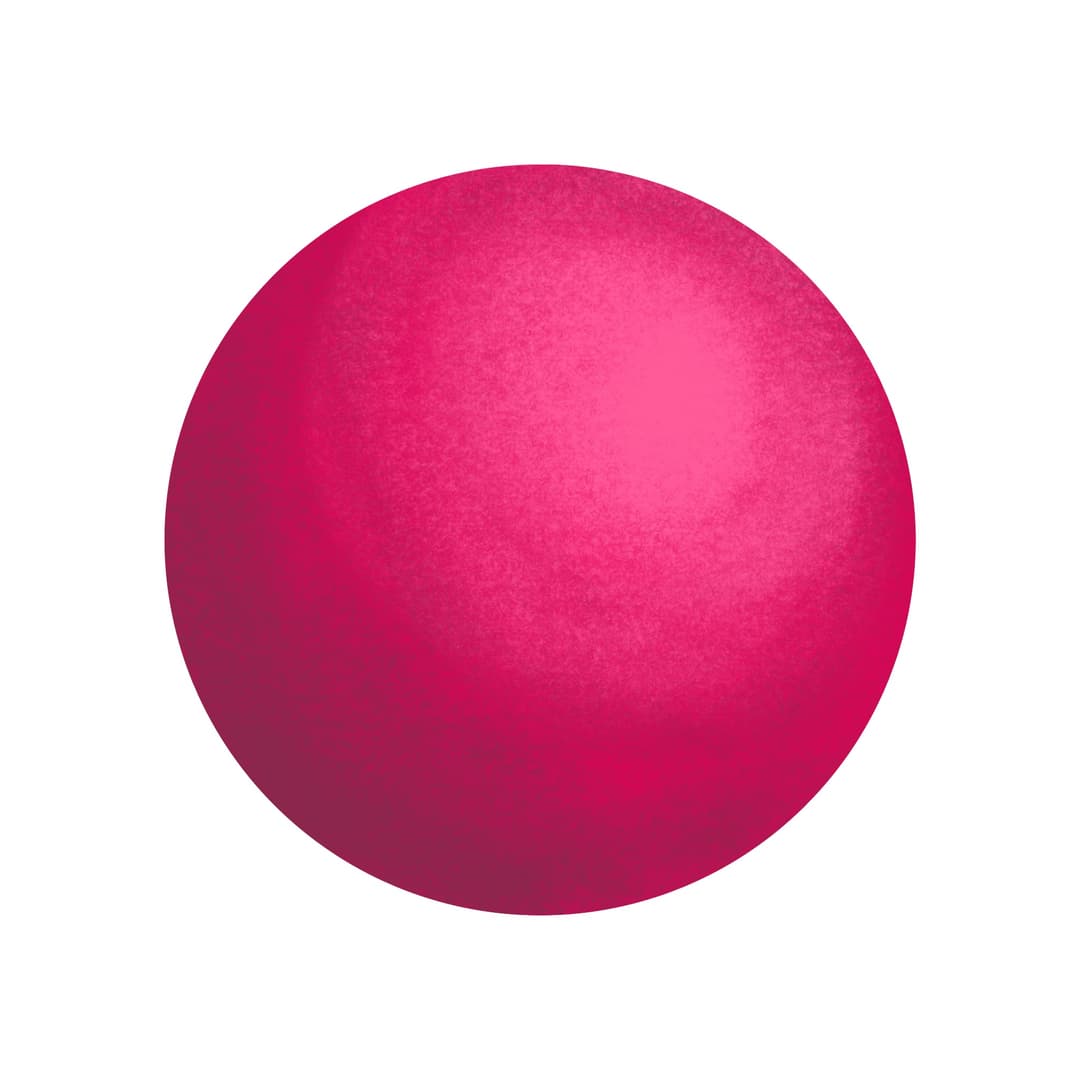
Now let’s choose a lighter color. I’ll paint in circles on the upper right corner, making the circles bigger and the pen pressure lighter as I go.
We’ll have something like this.
Organizing Layers with Clipping Mask
We can actually add more than two clipping mask layers in our work. Really, your project’s layer limit is the limit.
And the nice thing about this is that we can also rearrange the layers with a clipping mask depending on how we’d like them to appear. Remember that the topmost layer gets more visibility compared to the layer below it.
Try adding more layers and turn on clipping mask. You can also experiment with the arrangement to see what works.
How was it? Simple and easy right?
Now, I suggest you try and practice with this tool in your next works.
If you’re trying to add some texture or details to your work, be sure to use a clipping mask! This way do can change it whenever you like, without being bound by the undo button.
And let’s face it, what if you just did something awesome but you’ll need to change something around 10 undos ago 😱 That would be a disaster!
To prevent more disasters like this, we’ll talk about the other masks in future blogs so that you have more weapons against the undo pitfall.
Have fun clipping!
Try two real lessons from Masterclass for Procreate, free
Not a trailer. Actual lessons from the course. After you confirm your email, they open in Freya Studio and stay yours.
Halftone Tulip
The complete lesson, not a preview
Porcelain Plate Oil Painting
The complete lesson, not a preview
- Yours after email confirmation
- No card, no trial
- Opens in Freya Studio