How to Draw A Cat in Procreate
Two quick cat tutorials plus Freya's full ragdoll workflow: grid sketching, gray-not-white base coats, and the fur detail brush sequence.
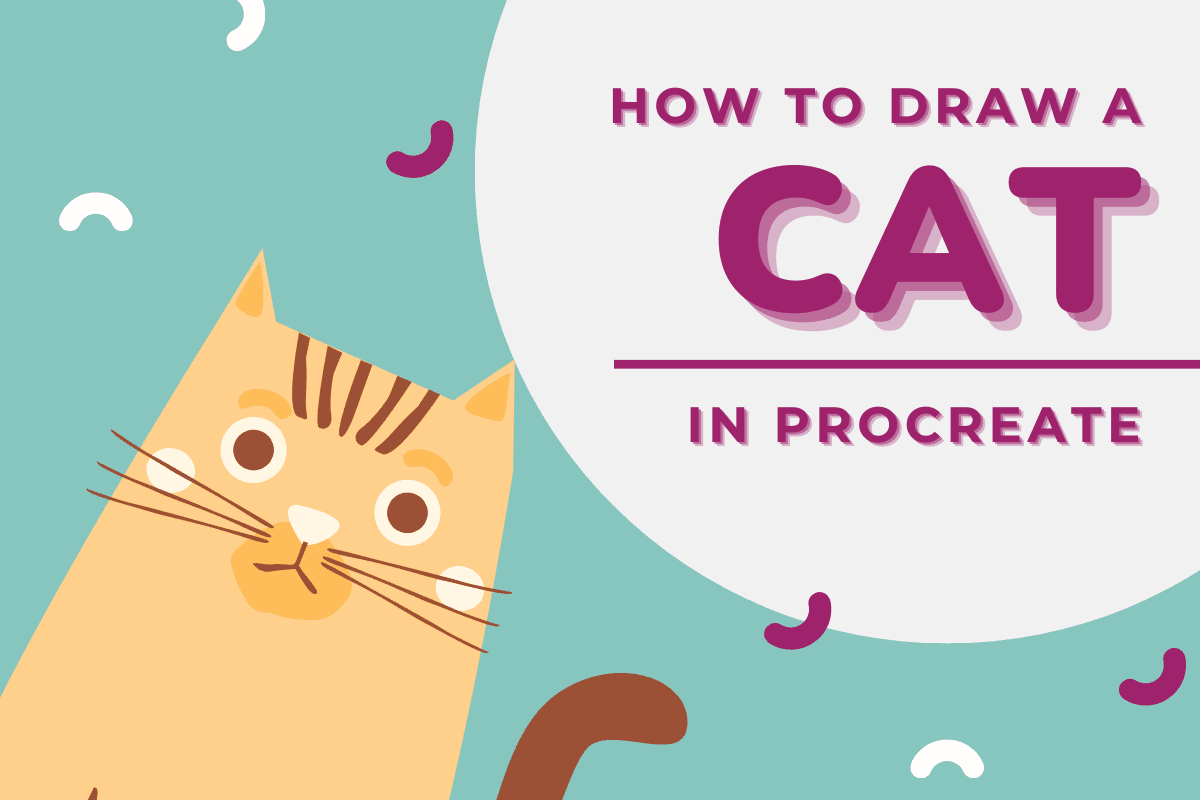
Hey there, paw-some artists! If you’re reading this blog, chances are you have a pet of your own and/or an avid animal lover but either way, we can all agree that we love drawing our pets because it brings a personal touch to our work. Our furry friends have unique personalities and capturing that on canvas is both a challenge and a joy. Plus, drawing your cat means you get to immortalize those cute, quirky moments forever. In today’s blog, I will be introducing you to two super quick and easy tutorials on how to draw your feline friends. Let us help you sharpen your artistic chops and in no time, you’ll be making your own cat portraits!
Tutorial 1: Maine Coon Procreate Oil Paint Tutorial
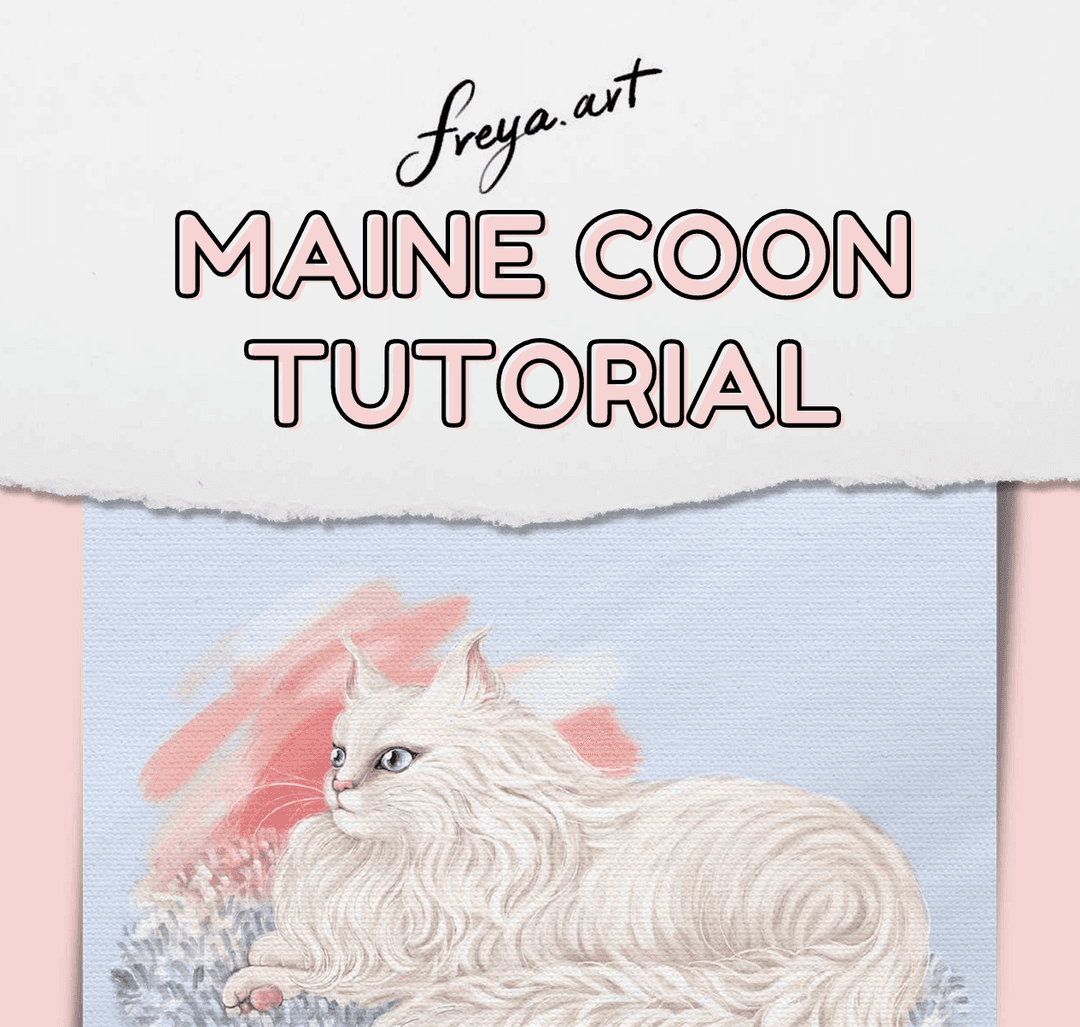
In this tutorial, we’re focusing on creating a stunning oil paint effect of a Maine Coon cat. Maine Coons are known for their majestic fur and expressive eyes, making them a fantastic subject for your next art piece.
To get started, you will be provided with our very own Freya Oil Paint Sampler Brushes to play around with this tutorial. We’ll guide you through each step, from sketching the initial outline to adding those realistic fur textures. This tutorial is perfect for artists who want to explore the rich, textured feel of oil painting without all the mess of a traditional medium.
Tutorial 2: Cute Animal Sketches: Easy Cat Portrait on Procreate
If you have a cat of your own, this video might be for you! Unlike the previous tutorial with a specific cat to focus on, in this tutorial, we will be giving you basic tips on how to recreate your cat photos into canvas. Perfect for those days when you want to just lock in and let your mind wander while drawing.
This video walks you through the process, making it super easy to follow along. By the end, you’ll have a charming cat portrait that you can be proud of!
How Freya Paints a Long-Haired Cat, Step by Step
If you want to go deeper than a quick sketch, here is the actual workflow from the ragdoll cat exercise in my Pet Portrait Purrfection course, about 3 hours of painting across three lessons. Even a shortened version of it will change how your cat portraits turn out.
Step 1: Sketch on a numbered grid
Start a 3000 x 4000 px canvas at 300 DPI. Import your cat photo, then paint a grid over it with the Grid brush (in the Textures group, size 100%) in a bright color, and number all four sides with the Technical Pen. Export that as a JPEG and load it into the Reference window.
Now sketch with the Eaglehawk brush at 8%, locating each point by its coordinates (the ragdoll's left ear starts at X4, Y5). Two habits from the lesson worth stealing: use zigzag strokes along the outline so the silhouette already suggests hair direction, and draw a line wherever two fur colors meet. Those pattern boundaries tell you later exactly where each color goes.
Step 2: Blur the reference, then base color
Before coloring, run the reference through Gaussian Blur at around 8% and use the blurred version as your reference. The fur detail disappears and the true base colors become easy to read.
Outline the cat with Freya Hair Base 5 at 30%, pressing harder at the start of each stroke and sweeping outward with less pressure so the edge already looks like soft hair. Then drag and drop to fill. And here's the counterintuitive part: even for a mostly white cat, the base is light gray, not white.
"We should refrain from using a completely white color as a base because we don't want it to end up looking flat. It is usually used for the final detailing. It's reserved until the last step because there is no color whiter than white!"
(Freya, in the Cat Base Coloring lesson of Pet Portrait Purrfection)
Step 3: Build the fur, darkest colors you trust first
Freya starts the detail pass with the brown pattern, simply because starting with a color you feel confident in gives you a clear sequence to follow. The brushes rotate with the job:
- Freya Hair Detail 3 at 27% for the soft light-brown areas.
- Freya Hair Detail 8 for the denser, darker brown patches.
- Freya Hair Detail 13, small tip, for the darkest touches around the eyes and ears (gently, it's a very dark color).
- Freya Hair Detail 14 at 50% for the white fur, painted in gray first, short strokes from the nose outward.
Every stroke follows the hair direction in the photo: some strands run vertical, others tilt left or right. Pick each new shade from your own painting, adjust it slightly darker, and save it to the palette. And keep the fussy work for the face; Freya draws the fur wrinkles on the body quickly and loosely, because the face is the focal point anyway.
Pet Portrait Purrfection
If you're hungry for more than just a quick sketch, our course "Pet Portrait Purrfection" is where it's at. Packed with 18 hours of lessons, this course dives deep into capturing the essence of different animals through their fur textures and details. Each lesson focuses on a different furry friend, from cats and dogs and even a bunny!
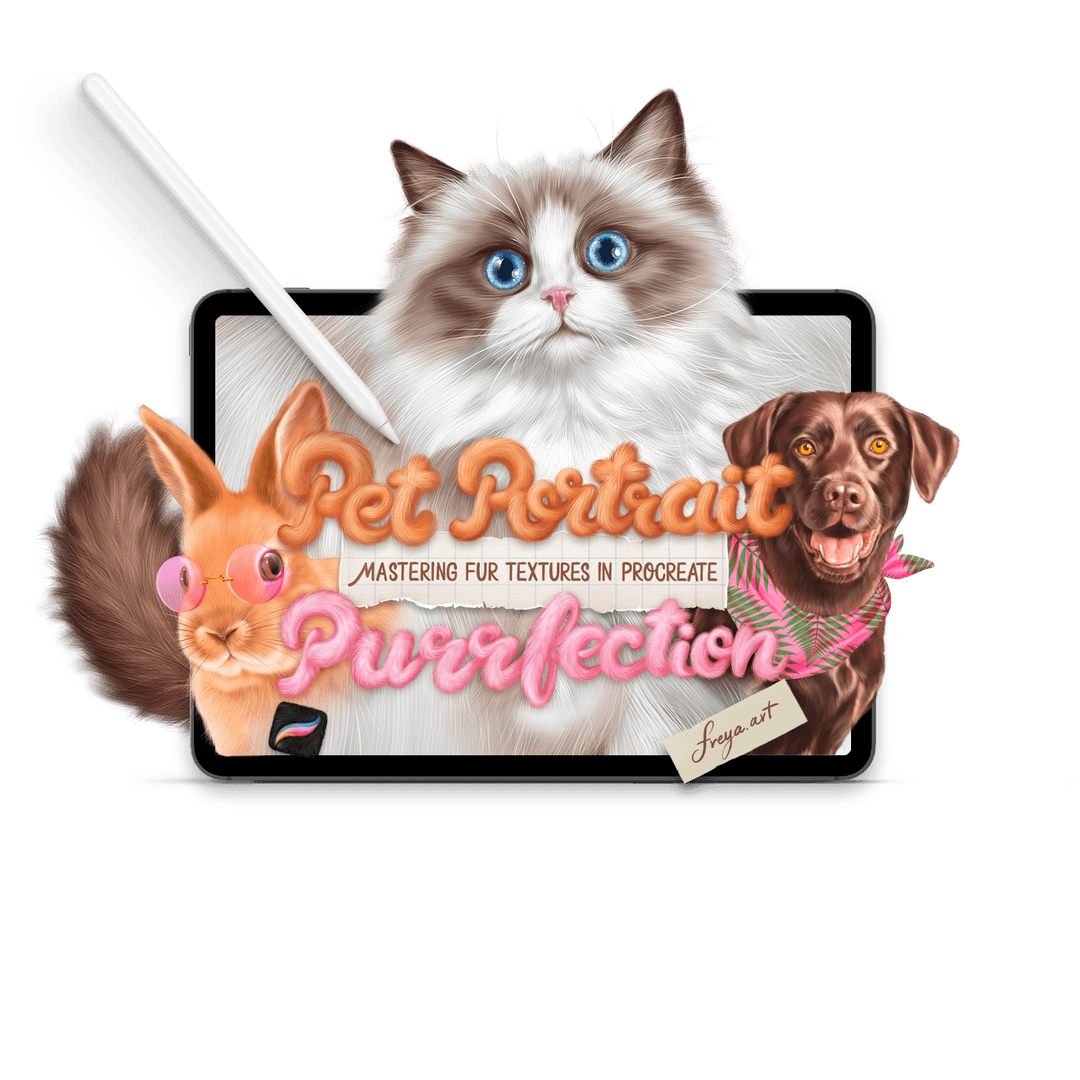
As a bonus, you’ll get your paws on our exclusive Fur brush set, with 33 Procreate brushes designed to make fur come alive on your screen. Plus, our Decoration brush set adds that extra bit of flair to your artwork, whether you’re creating a cozy pet portrait or sprucing up your digital doodles. So, if you’re serious about leveling up your pet portraits and adding some serious skills to your Procreate toolbox, this course is THE one for you.
Capturing the quirkiness of our beloved pets is the most fun part of creating their portraits in the first place. We hope these tutorials jumpstart your artistic journey into the world of pet portraits. Remember, practice makes purr-fect! Don’t be afraid to experiment with different styles and techniques. As with a lot of art projects, drawing cats can be a therapeutic and rewarding experience. So, keep your paws at it and continue creating!
Try two real lessons from Pet Portrait Purrfection, free
Not a trailer. Actual lessons from the course. After you confirm your email, they open in Freya Studio and stay yours.
Fur Ball Practice
The complete lesson, not a preview
Draw Anything from Scratch: Connect the Dots
The complete lesson, not a preview
- Yours after email confirmation
- No card, no trial
- Opens in Freya Studio