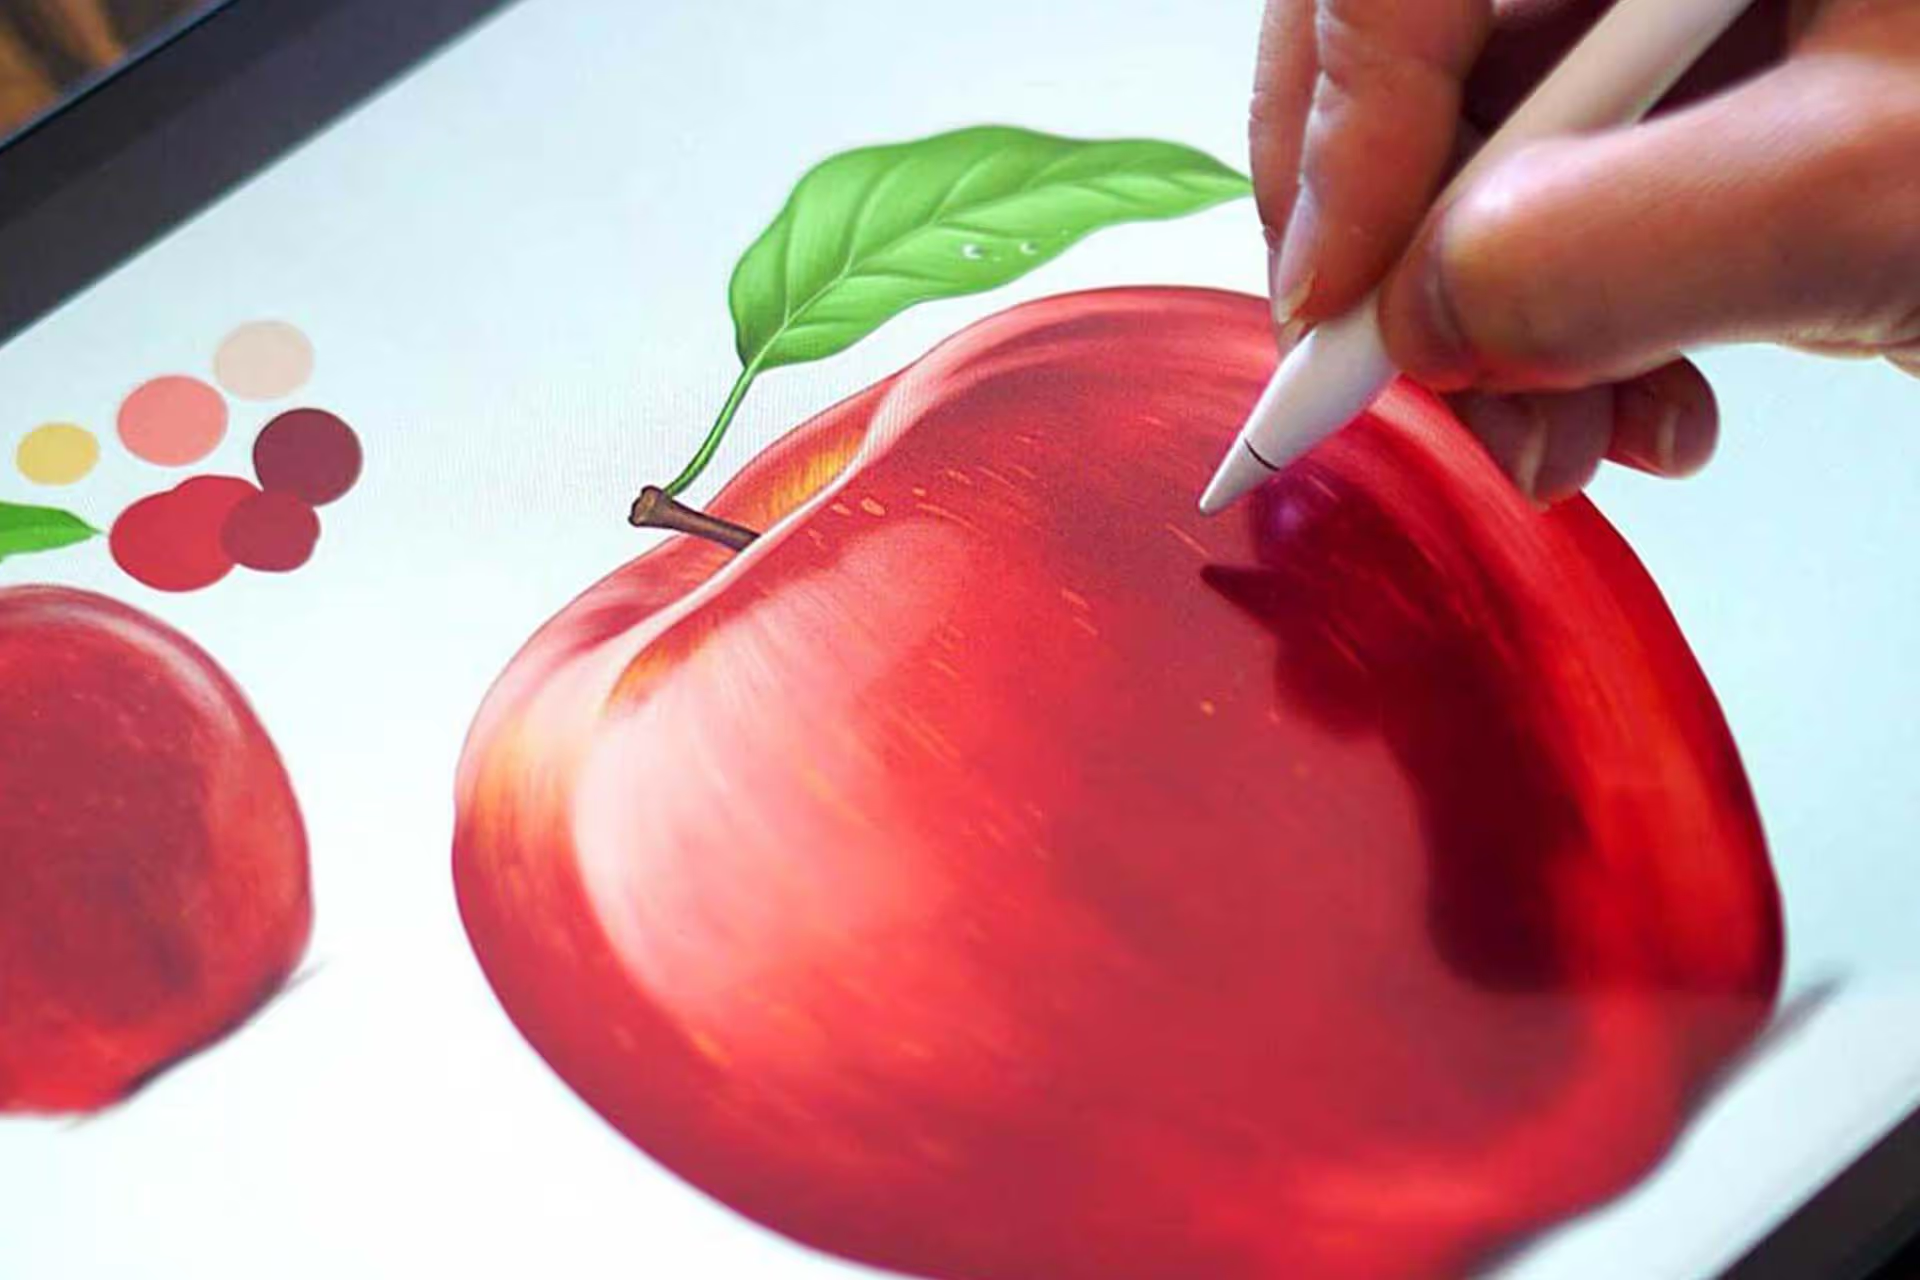
Hand Bag Better Marker Tutorial for Procreate
Hello! Here's another free tutorial lesson~ Today we finally get to do the luxury Hand Bag Illustration using the premium brushes from my Better Marker Brushset. Please download the tutorial files first before we begin. You'll get the Tutorial PDF, swatch file, and sketch files for this project.
Ready? Let's go!
.jpeg)
Step 1: Let's begin by creating a sketch of our composition using 6B or Peppermint Brush.
.jpeg)
Add the paper background using Freya Fine Paper No. 10. Add the paper background using Freya Fine Paper No. 10. Choose a light grey color and place this layer on top of all the layers you'll create. Set it to Linear Burn and then lock the layer. Rename it as Paper Texture. Start a new layer under Paper Texture, and start building the base using Freya Marker Wet 13. Leave some areas white to act as highlights.
.jpeg)
Step 2: Continue building the colors using Freya Marker Wet 4. Go over the edges of the quilting to create a puffy look. You can also use Freya Marker Dry 11 to color.the strap.
.jpeg)
Step 3: Add another layer and start building the colors for the chain and plaque using Freya Marker Wet 4. Keep some areas light to act as highlight. Add the strap shadow using Freya Marker Dry 10.
.jpeg)
Step 4: For the final step, add a bit more shadow in the plaque corners and shade under the bag. Use Freya Marker Dry 1. Then you can also use a stamp brush to spruce up the background.
.jpeg)
Congratulations! You've just completed this Hand Bag Tutorial! Please don't forget to tag me if you post your work on Instagram! I'd love to see your version!
See courses that go much more in depth
Discover tips and tricks for Procreate enthusiasts.

Masterclass for Procreate 2.0

Pet Portrait Purrfection


